


Behind-the-Ear Support
Find resources in the setup, maintenance and accessories for your behind-the-ear hearing aid.
Congratulations on taking the first step in your hearing health
Your new RIC devices are built for long-lasting reliability and durability—but like any important investment, they need a little care to stay in top shape. The good news? Just a few minutes of daily maintenance can make a big difference. To ensure you hear clearly anytime and anywhere, we want to empower you to confidently clean and care for your hearing aids. Bookmark this page a great reference and guide to keeping your RIC devices in tip-top shape.
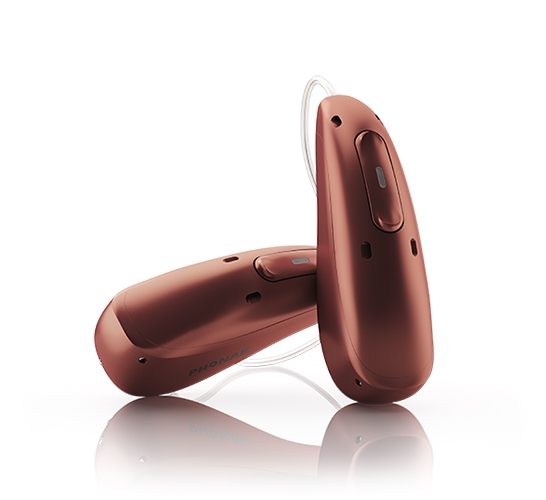
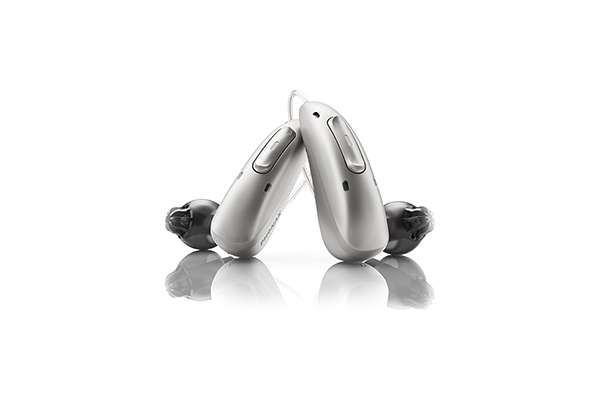
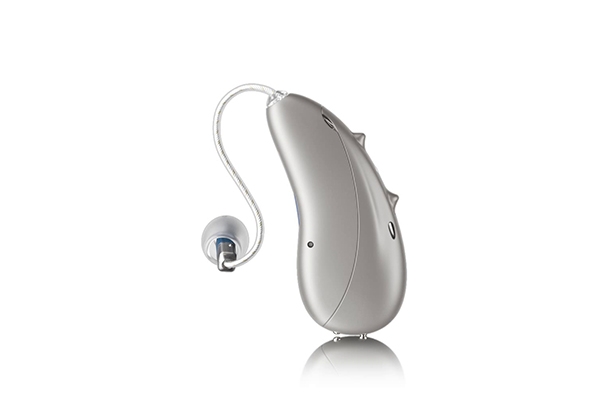
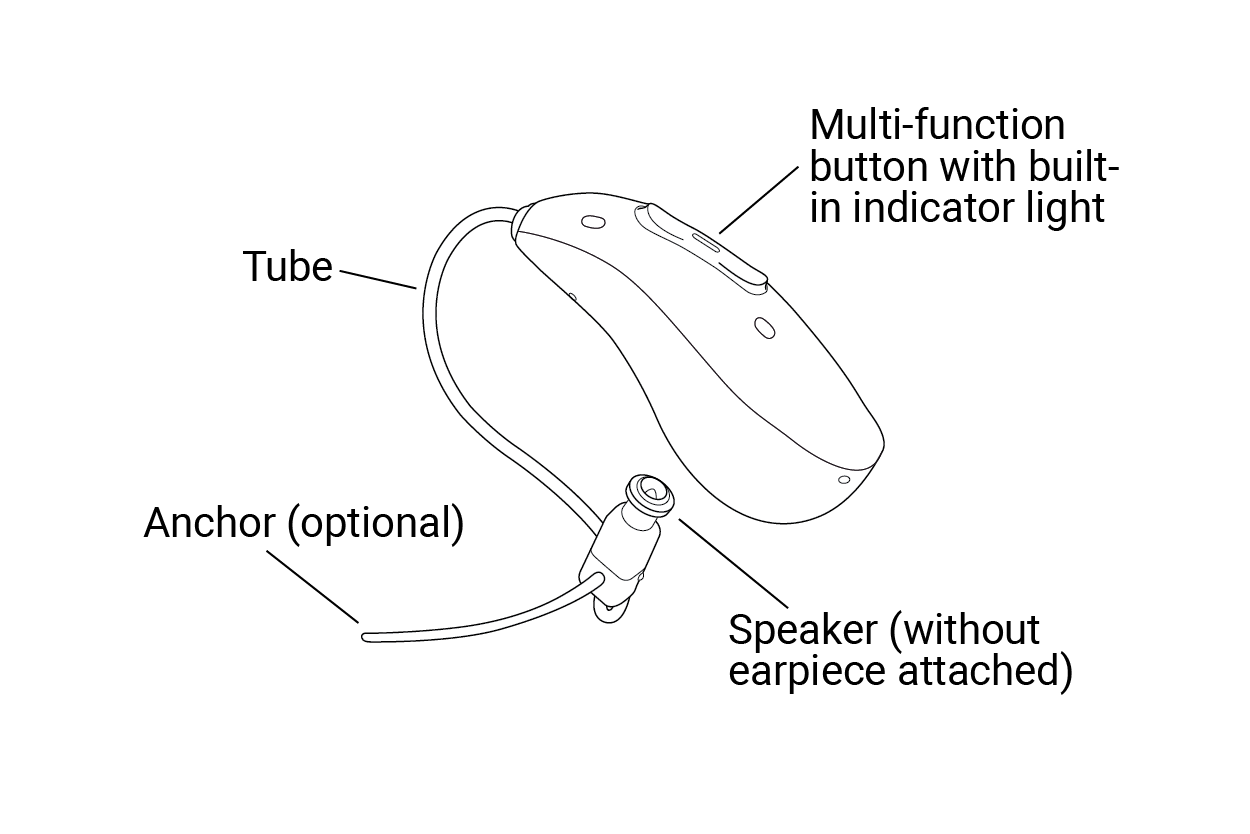
Parts of your RIC Hearing Aid
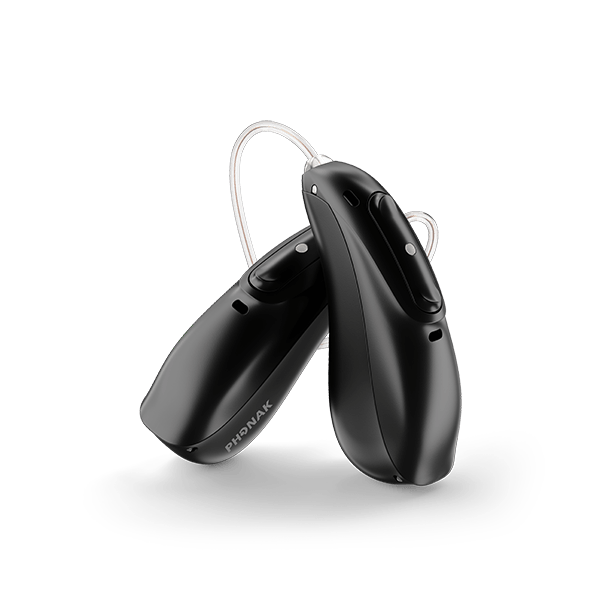
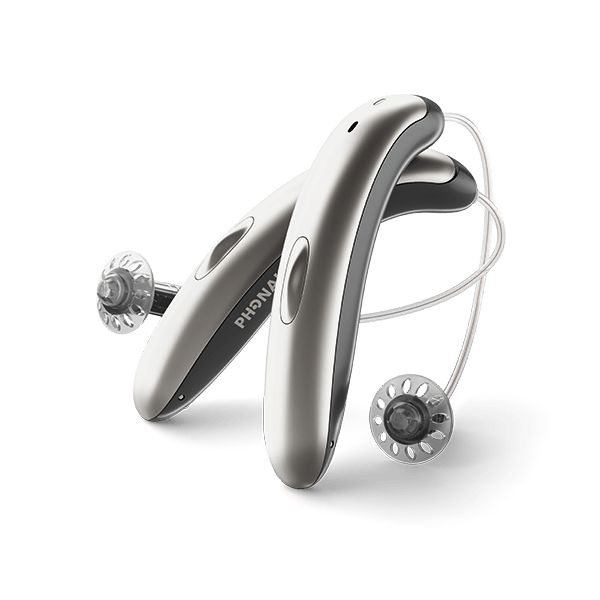
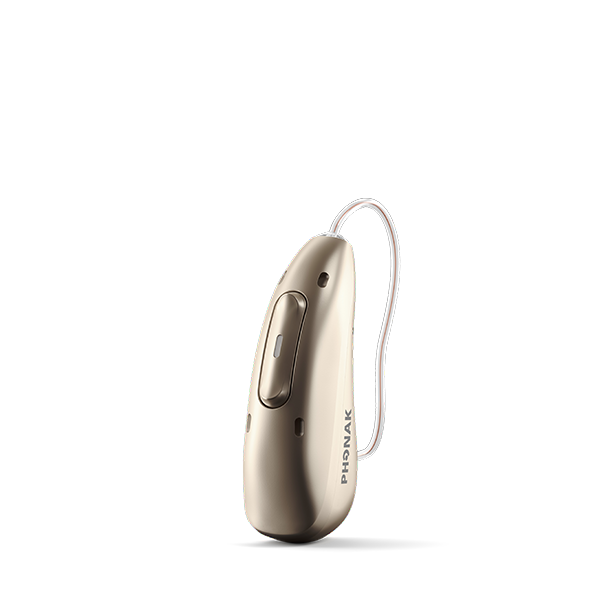
Your Receiver-in-Canal Hearing Aid consists of 4 main parts: the Tube, Multi-Function Button, Speaker, and optional Anchor.
Receiver-in-Canal Earpieces
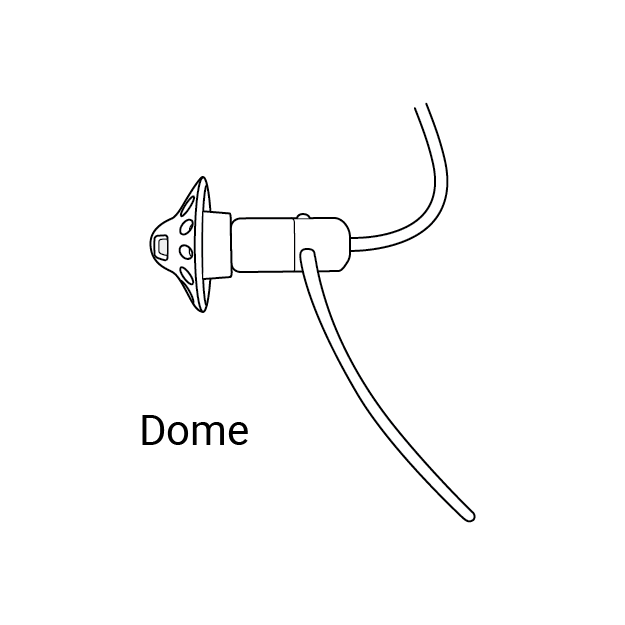 Dome earpieces are designed to cover the hearing aid speaker and hold it in place within the ear canal. 'Dome' refers to the shape of the cover that that snaps over the speaker, keeping it clean and comfortable for the wearer. Dome earpieces are available in different sizes - small, medium and large. They are often ventilated for comfort.
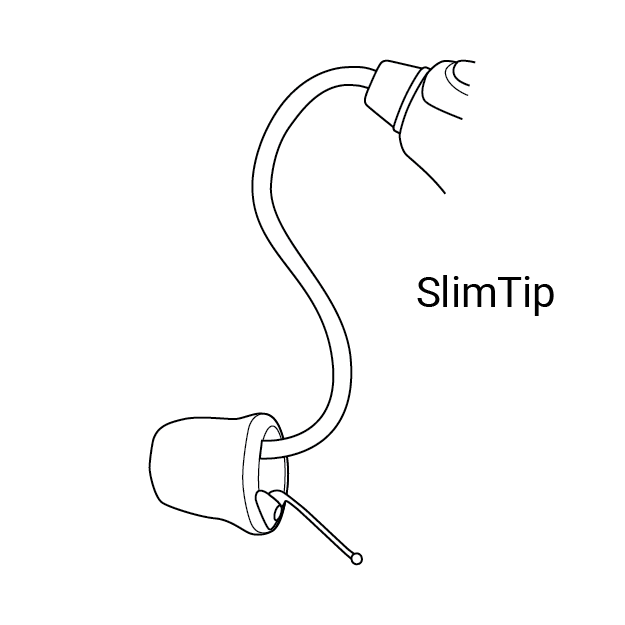 SlimTip earpieces are soft, flexible tips to cover and protect your hearing aids' speakers. Their design allows the hearing aid speaker to fit snugly, yet comfortably in the ear canal.
 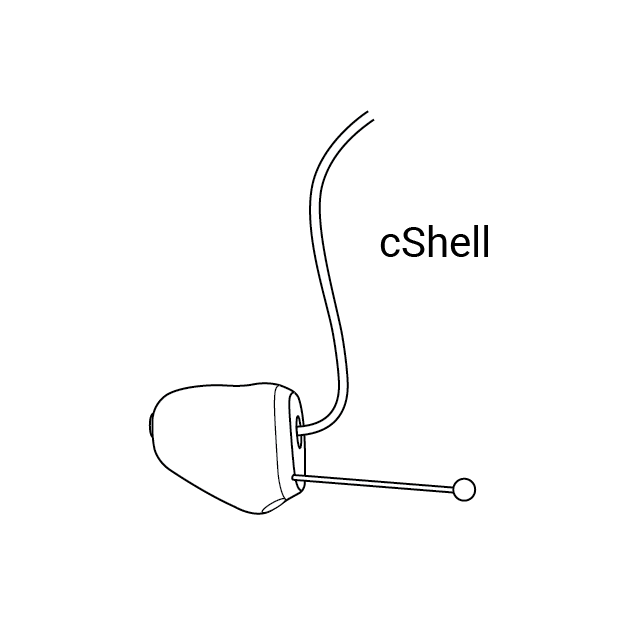 cShell earpieces are customized to the wearer. Like other earpieces, the cShell fits over the hearing aid speaker, protecting it from earwax and moisture while securing it in the ear canal. Because cShell is customized, an ear mold is necessary to shape them to the wearer's dimensions.
Setup & Usage
Your RIC hearing aids are color-marked distinguishing left and right. A blue mark indicates the left hearing. A red mark indicates the right hearing aid. The blue and red markings should appear on the back o the hearing aid and on its speakers.

How to Insert and Remove Your RIC Hearing Aid
To insert, first place the hearing aid behind your ear. Insert the earpiece into your ear canal. If there is an anchor attached to the earpiece, tuck it into the bowl of your ear to secure your hearing aid. Removing the hearing aid can be done by pulling on the bend of the tube and remove the hearing aid from behind the ear.
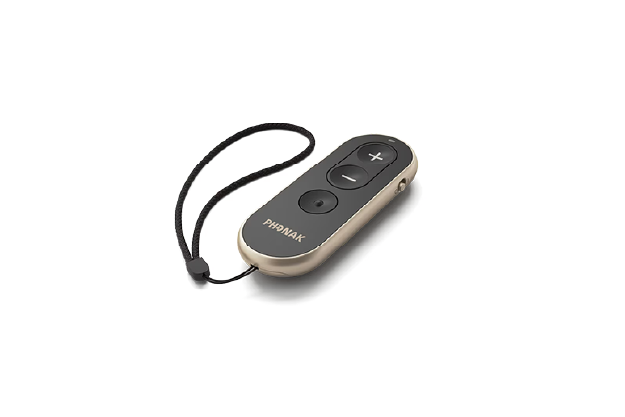
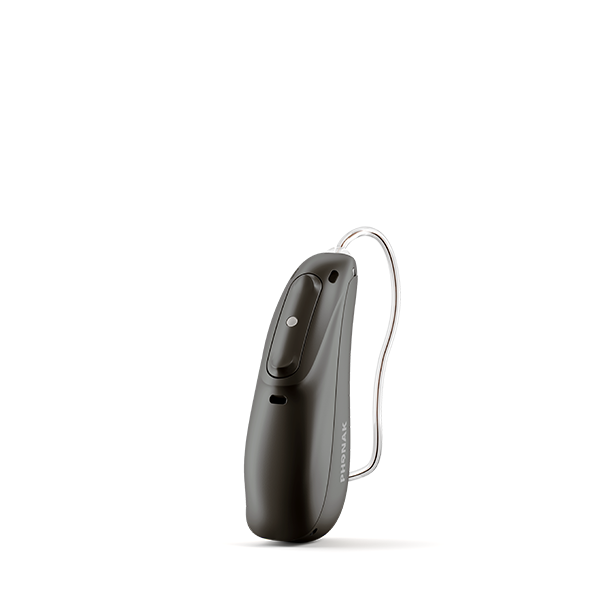
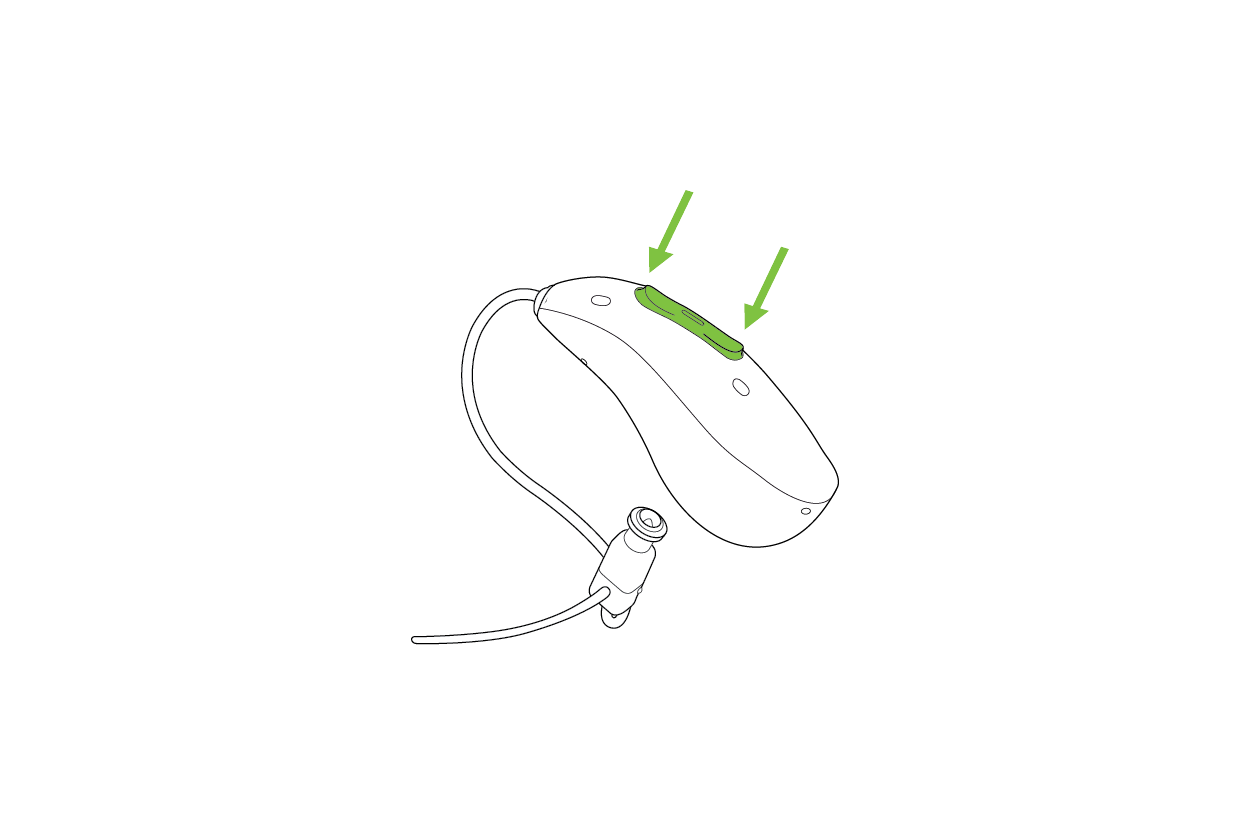
Changing Volume with Multi-Function Button
On the back of the RIC hearing aid, you'll find the multi-function button with indicator light. This button controls the volume and/or a program change depending on the hearing aid programming. Please consult your hearing care provider for specific personalization. Note: You only need to control the volume on one hearing aid to adjust the volume for both, unless otherwise specified by your hearing care professional.
- Increase Volume: Press the top button (near your top of your ear) to make the sound louder.
- Decrease Volume: Press the bottom button to lower the sound.
You can also manipulate the volume using the myPhonak app.
*If the hearing aid is paired with a Bluetooth® enabled phone, a short press on the upper or the lower part of the button will accept an incoming call and a long press will reject an incoming call, unless otherwise specified by your hearing care professional.
Rebooting Your Hearing Aid
Follow the steps below if your hearing aid shows an error state. This will not remove or delete any program or setting.
1. Press the lower part of the multi-function button for at least 15 seconds. It does not matter if the hearing aid is switched on or off before you start pressing the button. There is no light or acoustic notification at the end of the 15 seconds.
2. Place the hearing aid in the power-connected charger and wait until the indicator light blinks green. This can take up to 30 seconds. The hearing aid is now ready to use.
General Care & Maintenance
Cleaning
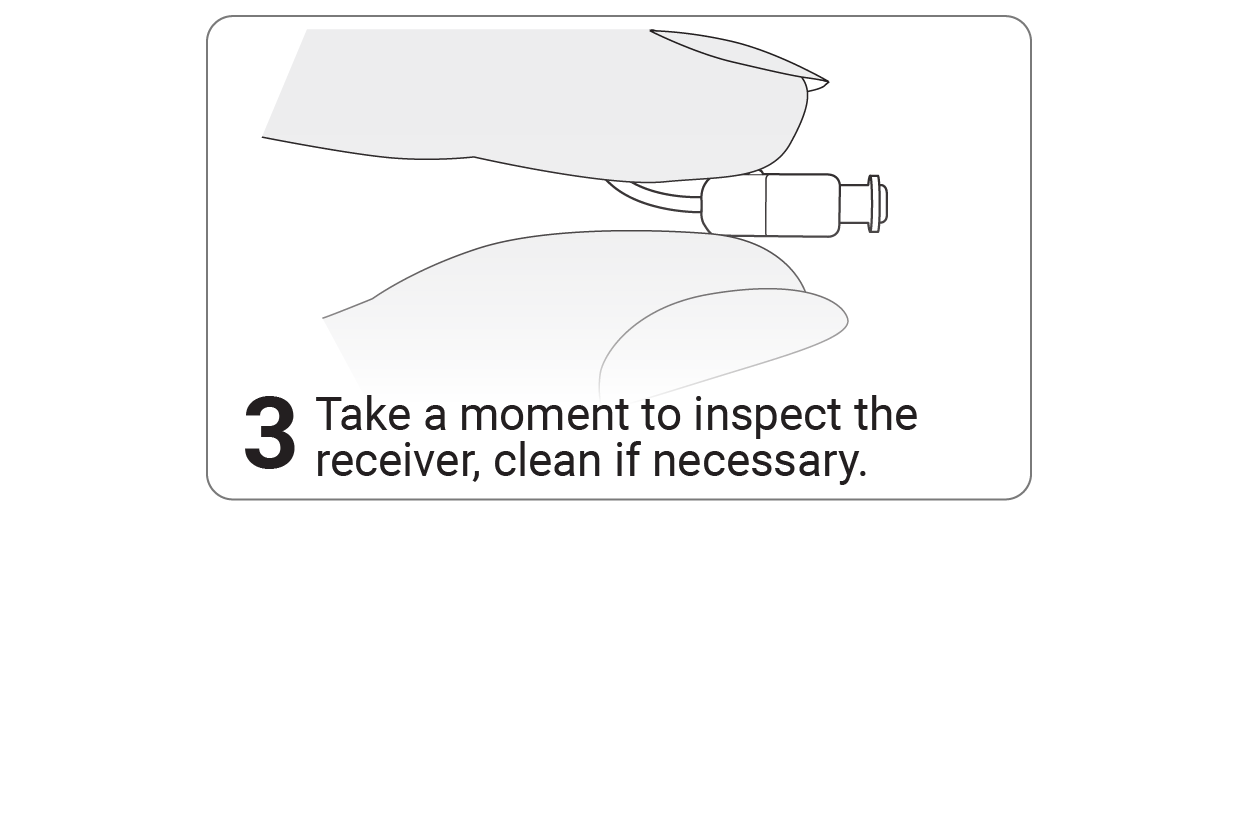
Regularly check that your dome, custom shell, speaker (including cable), and hearing aid are clean and undamaged. If you notice wax or debris, use a designated hearing aid cleaning spray (applied to a tissue) or a hearing aid cleaning wipe—never apply spray directly to the device. Gently wipe the surface, then dry with a clean, absorbent cloth. A soft brush can be used to remove debris but avoid brushing near microphone openings. For custom shell earpieces, use a vent cleaning wire or brush to clear the vent by gently threading it through, then wipe the tool with a cleaning wipe.
Dome Care
If you have a dome coupling replace the domes every month to ensure optimal performance.
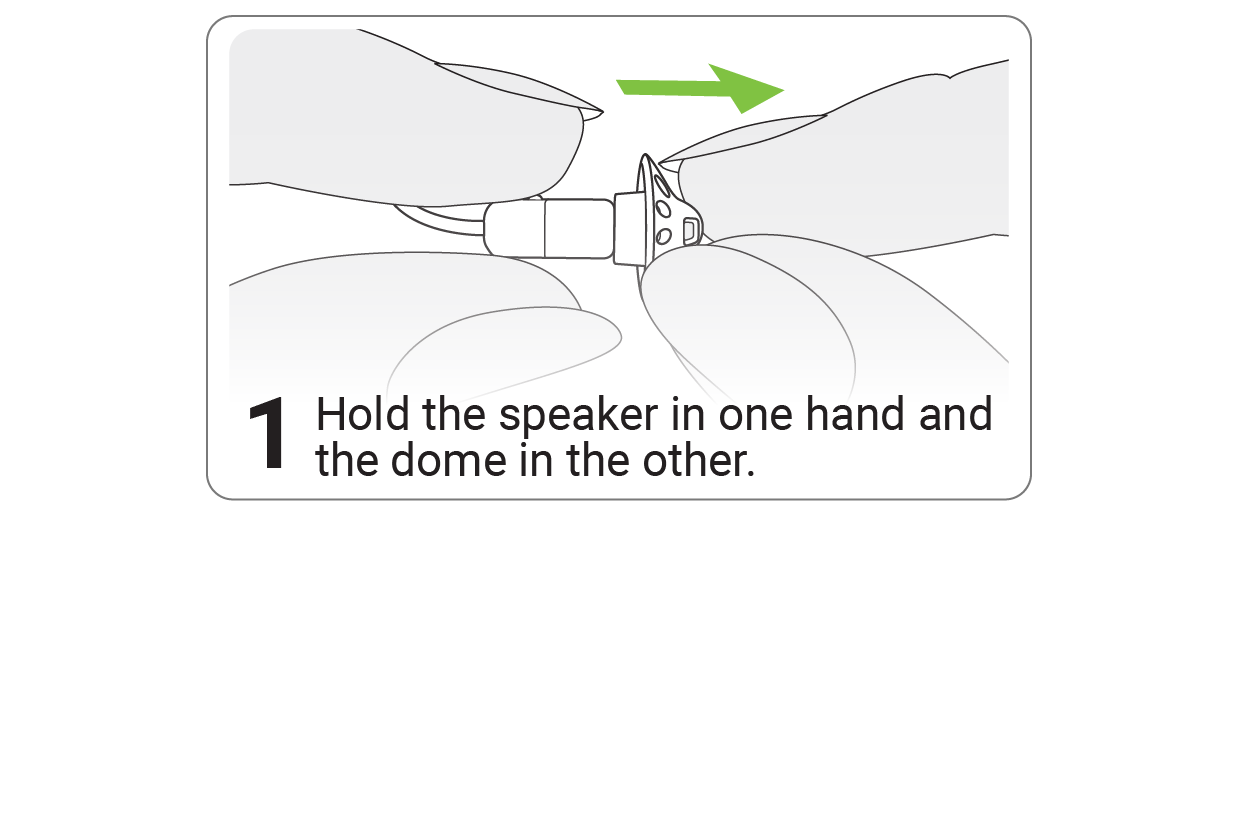
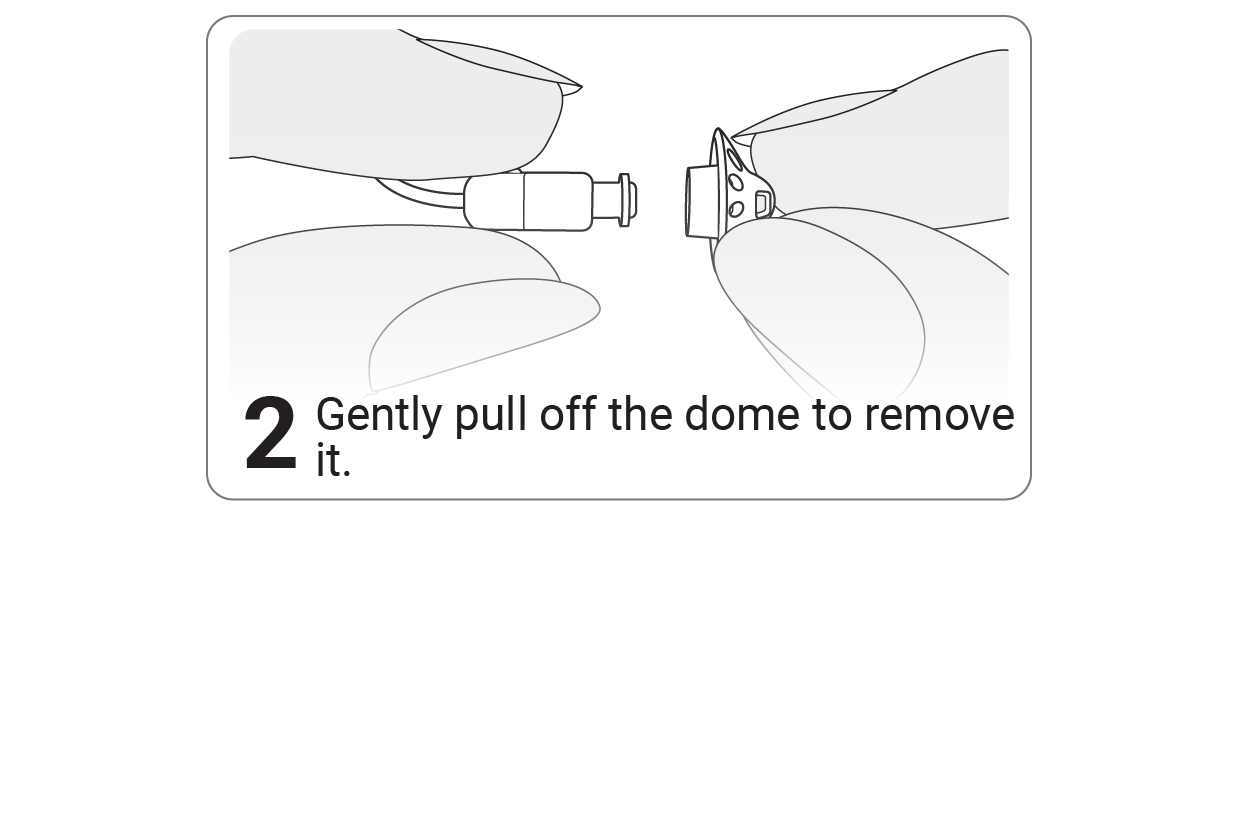
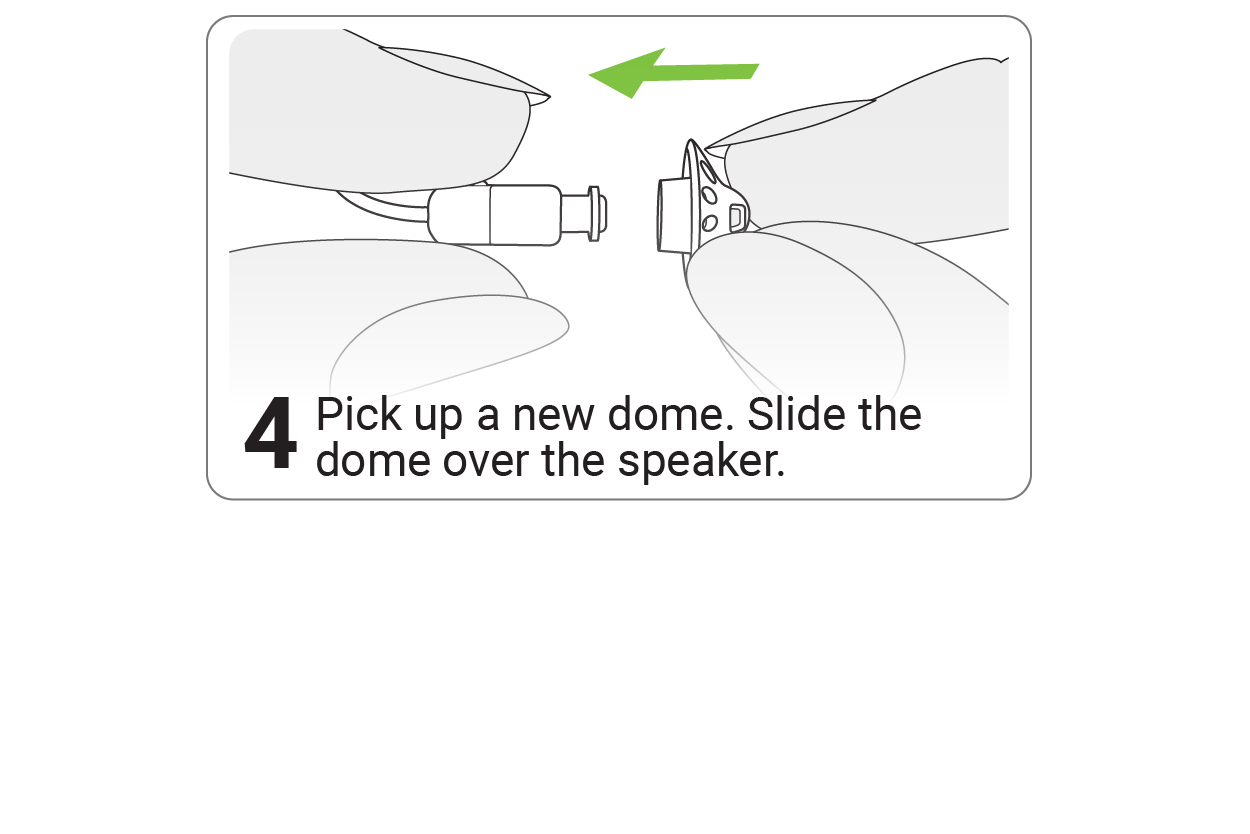
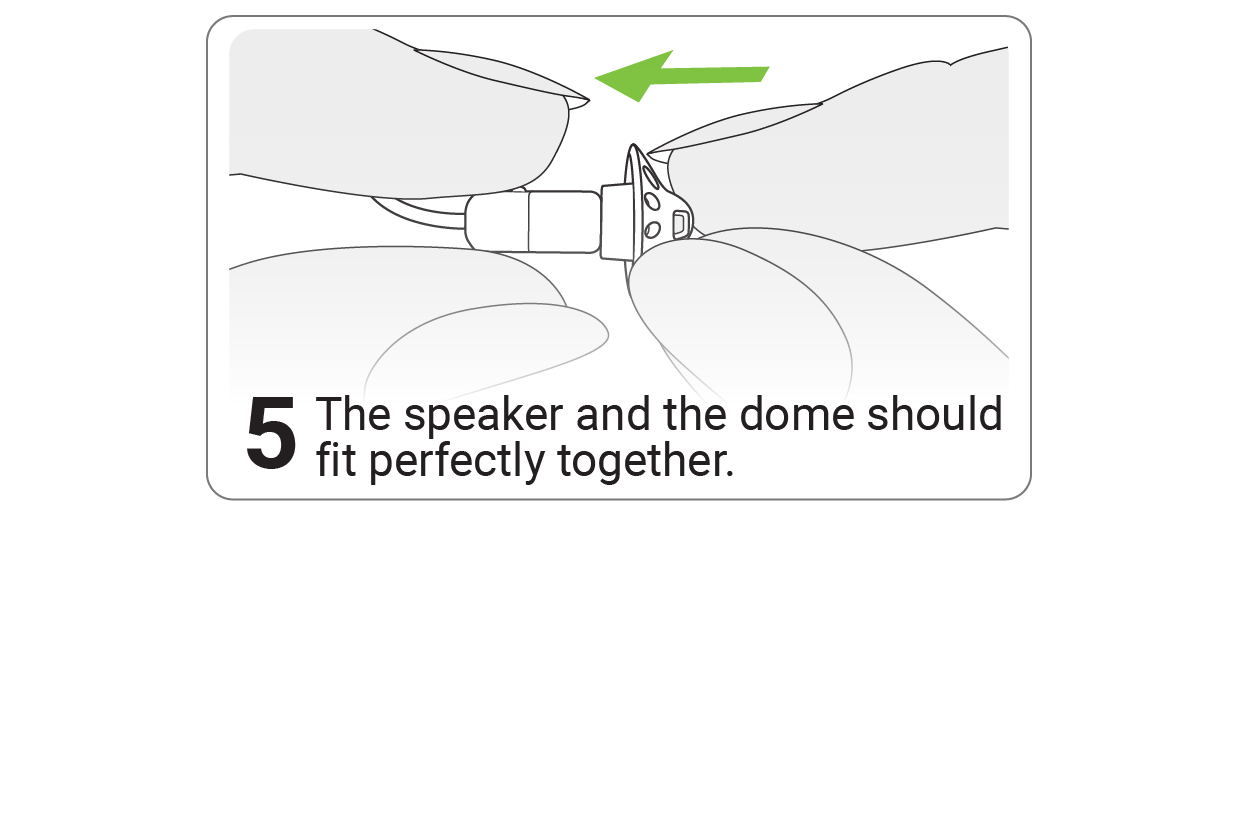

Important: When changing the dome, avoid pulling or applying excessive force to the speaker (including the cable)
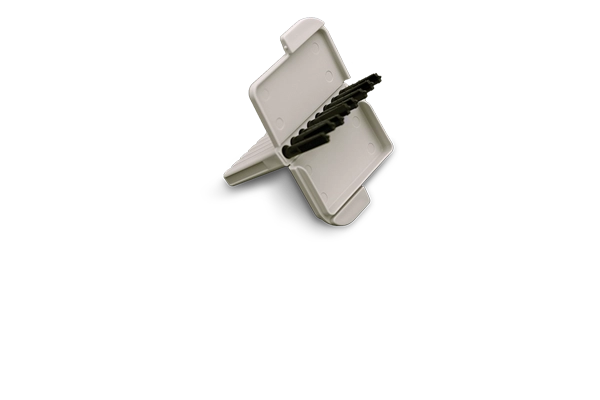
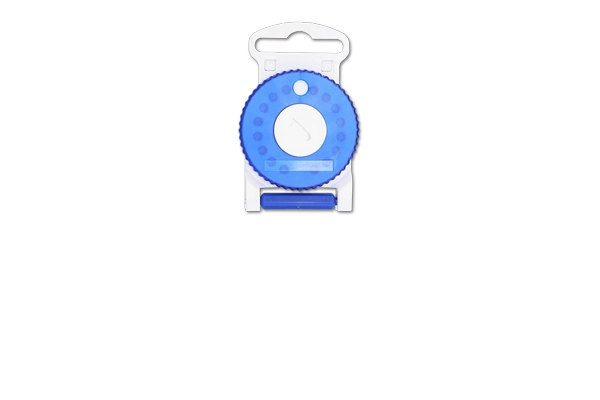
Filter Care
Regularly replacing these disposable hearing aid wax filters will guard against wax buildup in your hearing aids.
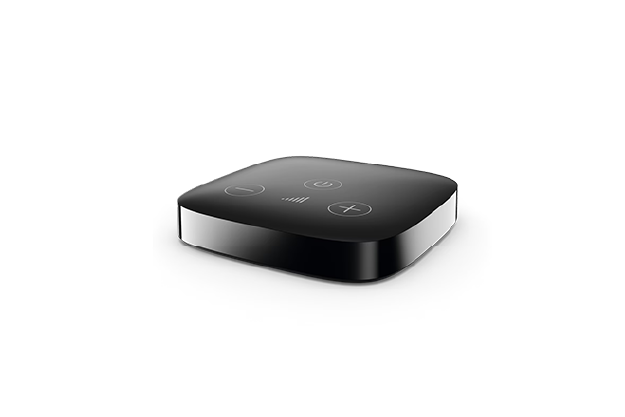
For Rechargeable RIC Hearing Aids
To charge your hearing aids, insert them into the charging slots with the earpieces in the large cavity, ensuring the left (blue) and right (red) markings align. The hearing aids will automatically turn off when inserted. The indicator light shows the charging status.
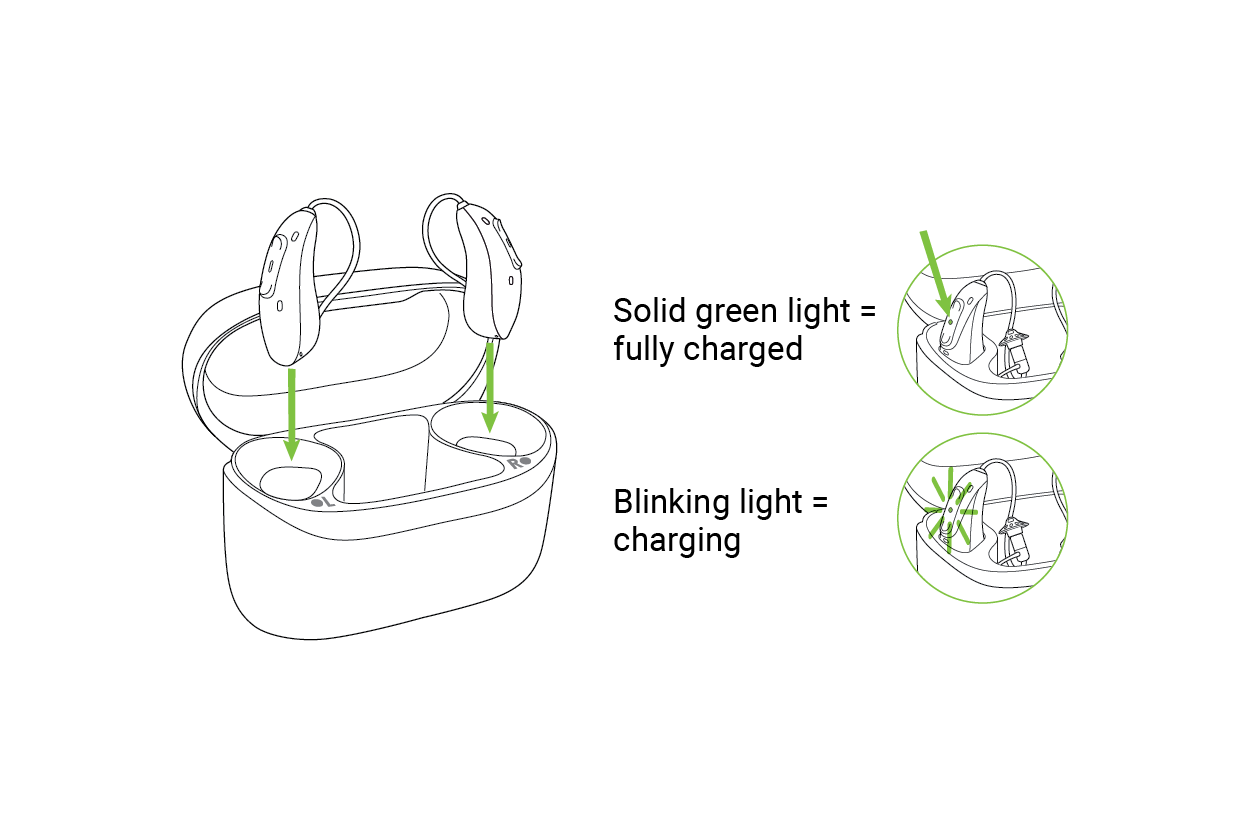
How to Charge Your Rechargeable RIC Hearing Aids
Cleaning Your Charger
Clean your charger only when unplugged. Use a lint-free cloth to wipe surfaces and remove dust or dirt from the inserts. Do not use household detergents, soap, or any cleaning agents.
For Battery Powered RIC Hearing Aids
Replace the battery every 7-10 days or when you hear the low battery warning. Be sure that the batteries you intend to replace are the appropriate type for your hearing aid. If you're unsure, contact your hearing care professional to confirm.
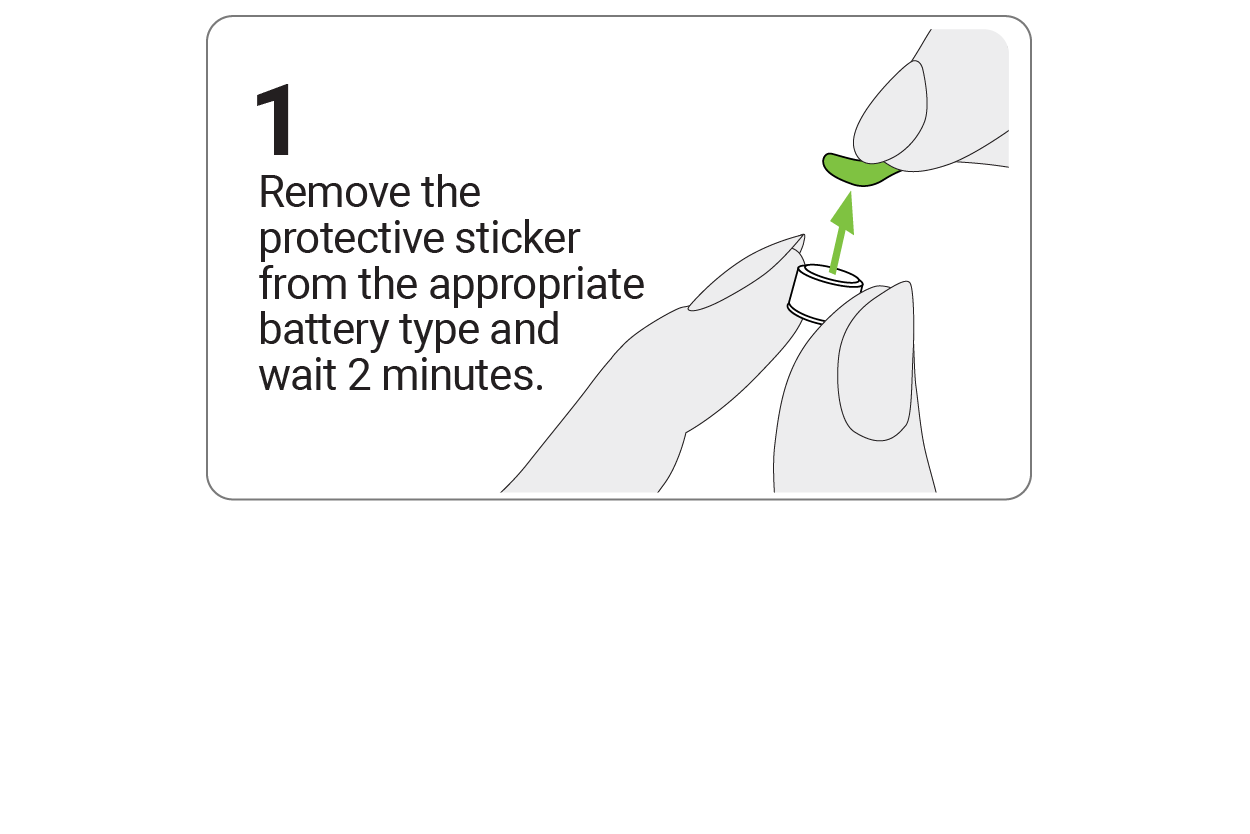
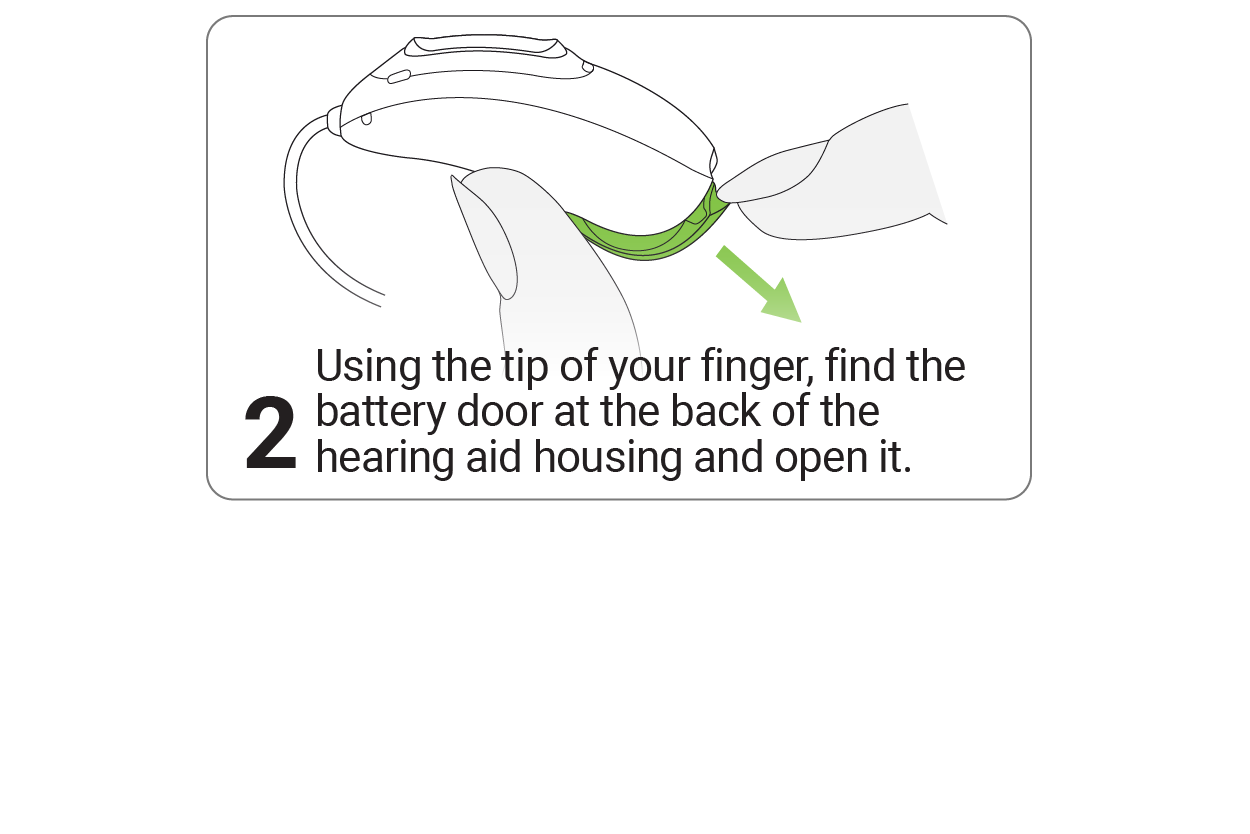
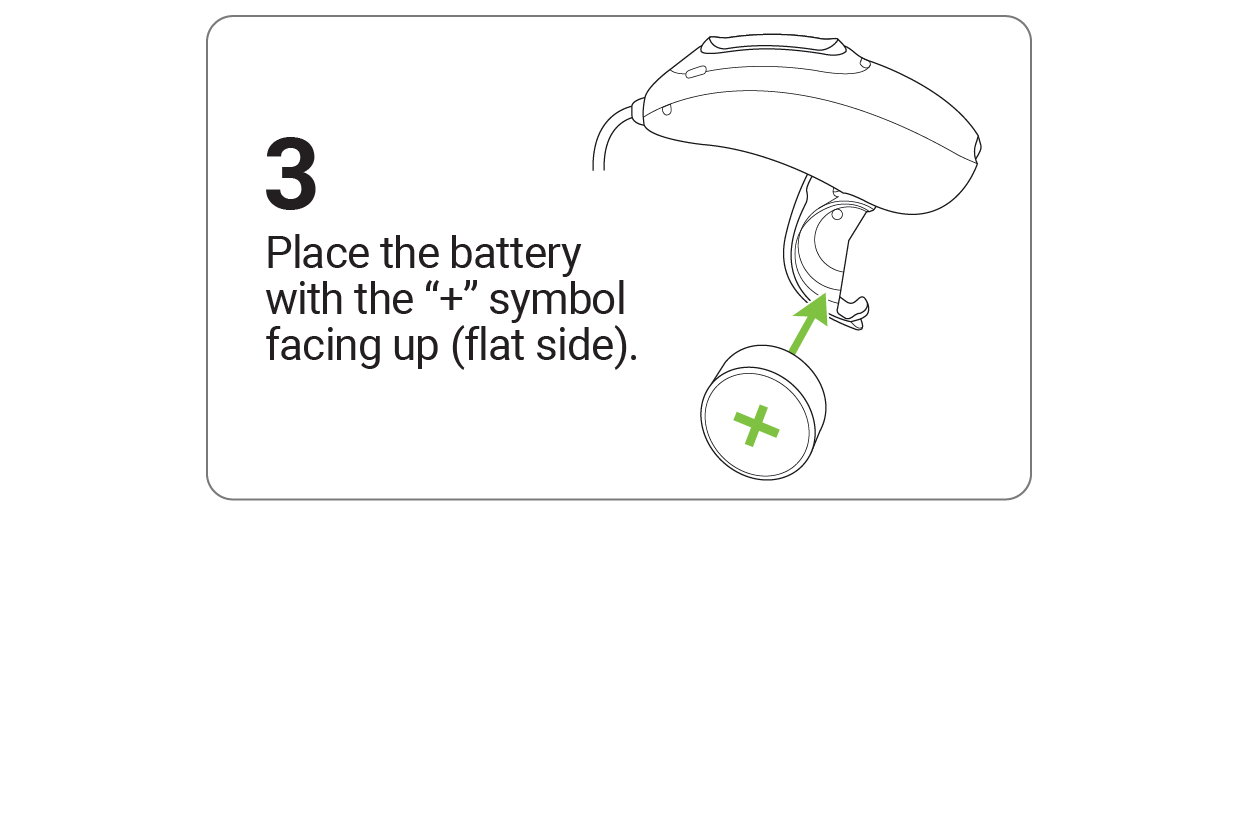
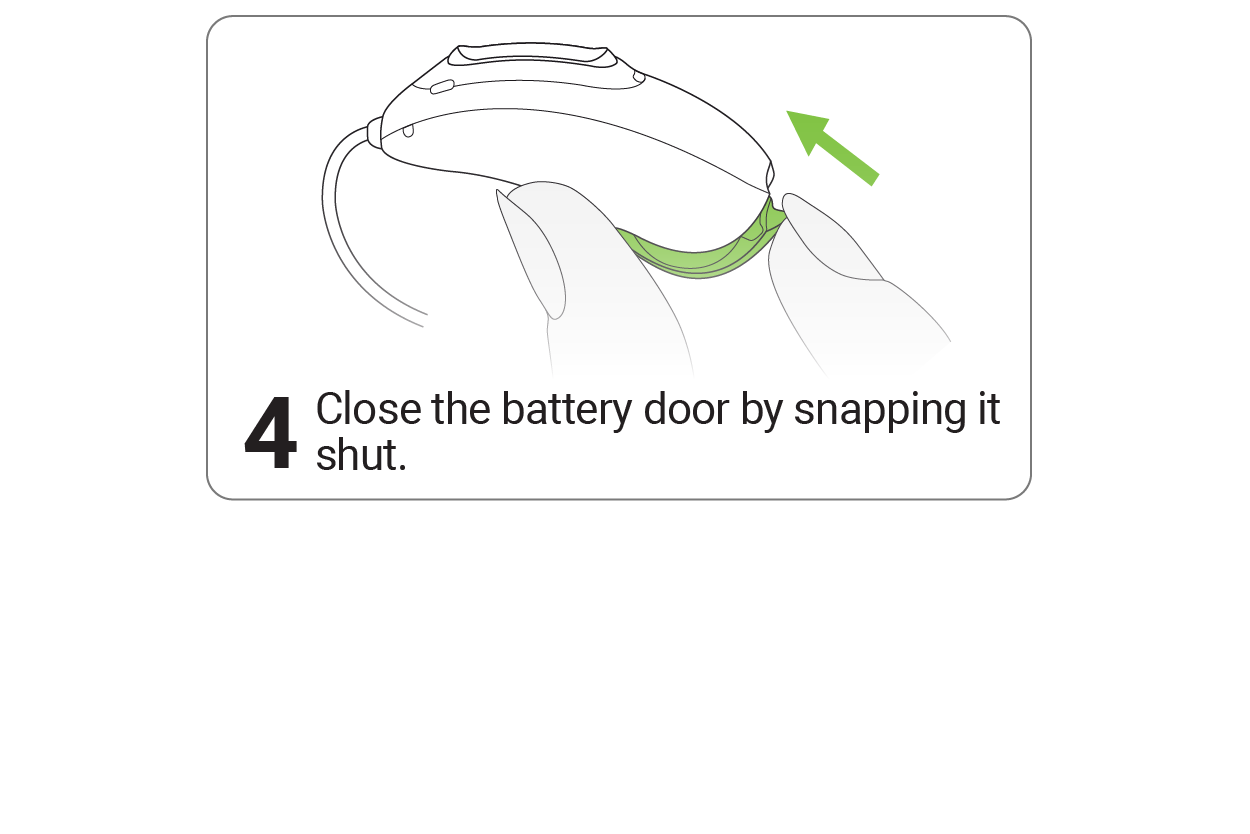
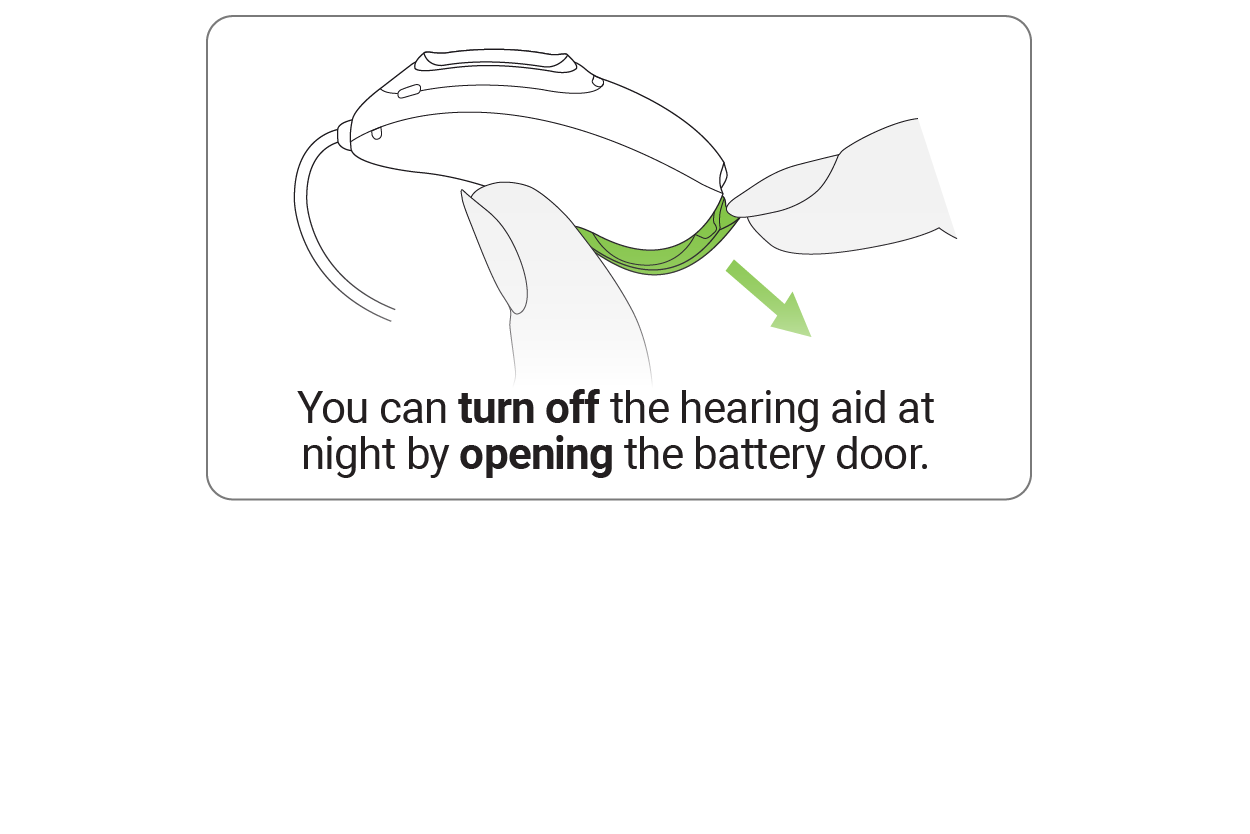
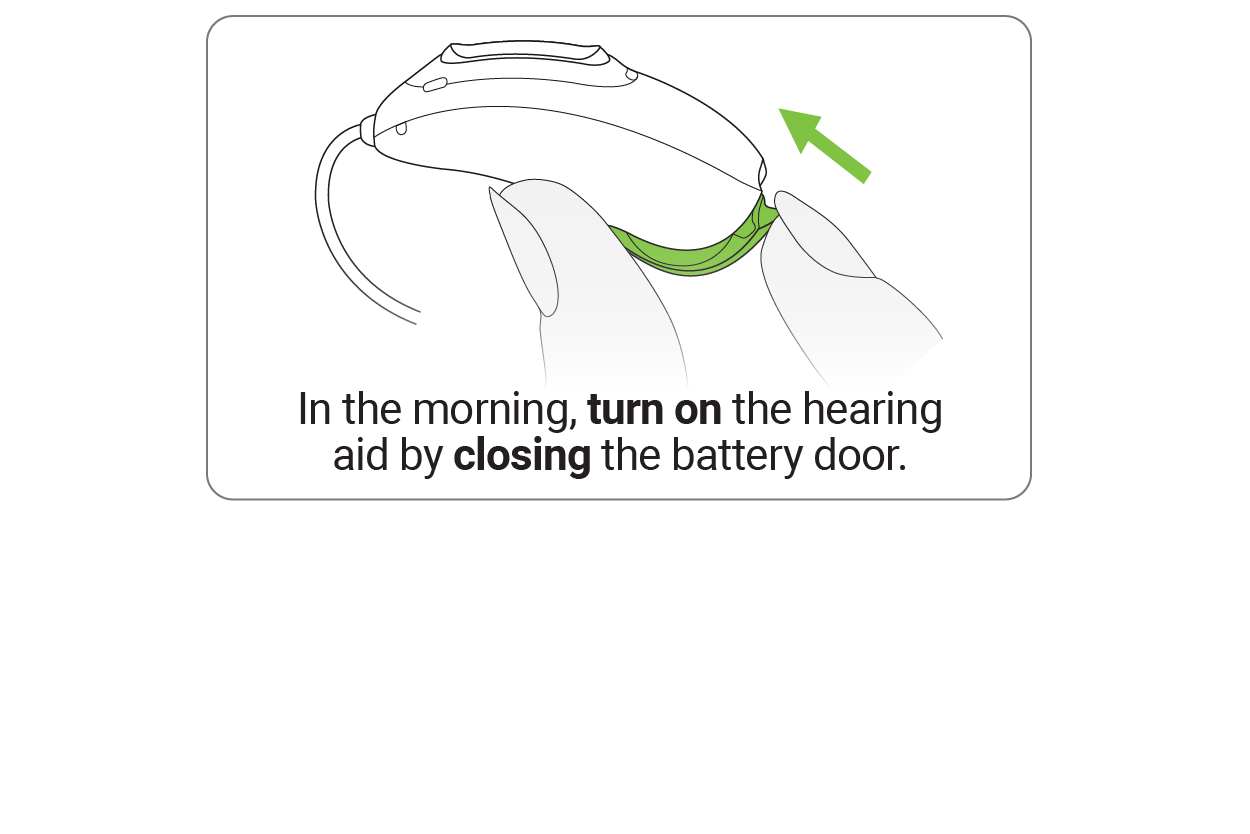
How to Replace the Battery in Your RIC Hearing Aid
Solutions For Your RIC Hearing Aid
PROBLEM | CAUSE | WHAT TO DO |
|---|---|---|
Hearing aid not functioning | Speaker / earpiece blocked | Clean speaker opening/earpiece |
Hearing aid switched of | Press lower part of multi-function button for 3 seconds | |
Battery fully discharged | Charge hearing aid or change battery | |
Hearing aid in error state | Reboot the hearing aid |
Hearing aid whistles | Hearing aid not inserted correctly | Insert hearing aid correctly |
Earwax in ear canal | Contact your hearing care professional |
Hearing aid not loud enough or distorted | Low battery | Charge hearing aid or change battery |
Speaker / earpiece blocked | Clean speaker opening / earpiece | |
Volume too low | Increase volume, if volume control available | |
Hearing has changed | Contact your hearing care professional |
Hearing aid too loud | Volume too loud | Decrease volume, if volume control available |
Hearing aid plays two beeps | Indication for low battery | Charge hearing aid or change battery |
Hearing aid will not switch on | Battery fully discharged | Charge hearing aid or change battery |
Note: If problems persist, contact your hearing care professional for assistance.